Aging pipes rarely fail in a dramatic moment. They usually start by costing you in small, stubborn ways: a leak that comes back in a different spot, a repair that never seems to be the last one, or water pressure that’s reliably unreliable.
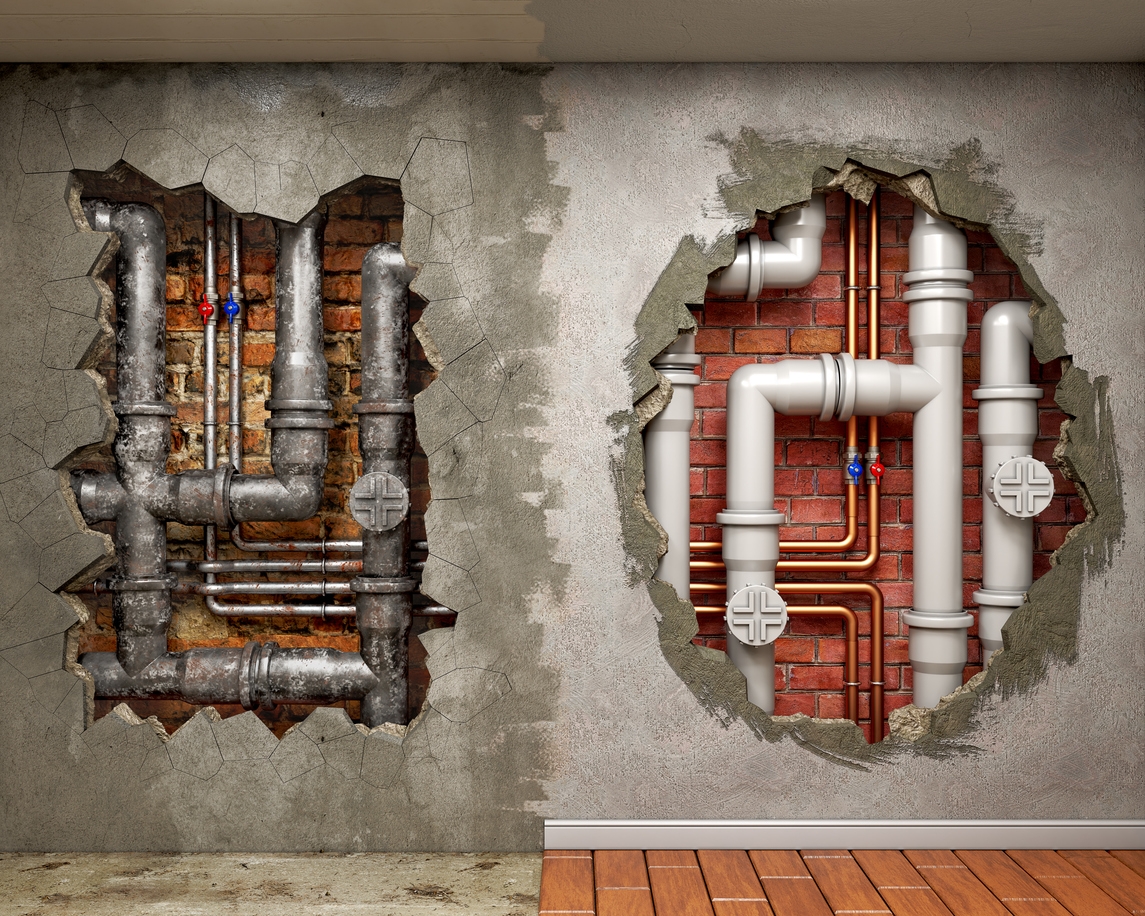
Outdated pipes are a common issue in San Jose homes, leading to persistent plumbing problems. Many homes' plumbing systems in San Jose still rely on galvanized steel pipes installed between the 1950s and 1970s, which are now reaching the end of their 40 to 50-year lifespans. Add hard water to the mix, and mineral scale can build inside pipes, narrowing flow and speeding wear on your plumbing system.
Let’s go over the clearest signs it may be time for a whole-home repipe, such as low water pressure or rust colored water—both common signs of outdated pipes—and what to expect from the process so you can plan ahead before a minor leak becomes major damage.
The Pattern That Shows Up Before Pipes Fail
Most homeowners don’t wake up one day and decide to replace all their plumbing. It usually starts with a pattern: one repair becomes two, then the problems begin hopping around the house.
That happens because aging pipes tend to weaken across the system, not in one isolated spot. In older San Jose homes, galvanized supply lines can corrode from the inside out, while hard water mineral scale narrows the pathway water needs to move through. The result is a mix of symptoms that feel unrelated, even though they share the same root cause.
A helpful way to think about it is this: when issues keep changing locations, it is less about a single bad fitting and more about the overall condition of the piping. Catching that pattern early gives you more options, better timing, and fewer emergency surprises.
The Signs Homeowners Notice First
Most repipe decisions don’t start with a pipe inspection. They start with something you can’t ignore, like another leak or water that suddenly looks or tastes “off.”
Here are the most common warning signs to watch for, along with what they often mean and when it’s time to take action.
1) Leaks That Keep Coming Back in New Places
A one-time leak can happen in any home. What’s more concerning is when you fix one spot, then another leak shows up somewhere else, a few weeks later. That cycle often points to aging pipes that are thinning in multiple areas at once.
In older lines, tiny openings can form and quietly spray water behind walls or under floors. These are often called pinhole leaks, and they don’t always leave a dramatic puddle.
Common clues include:
- A stain that grows, even after a repair
- Musty smells that linger near bathrooms, kitchens, or laundry areas
- Bubbling paint or peeling texture near plumbing walls
- Warped flooring or soft spots near sinks and tubs
- Multiple leaks in different locations within a year
2) Water Changes That Feel Off
When pipes wear down internally, the water can look or taste different. Brown tap water can mean rust or debris is moving through the line, especially after the water hasn’t been used for a while. Some homeowners also notice a metallic taste in their water, which can happen when pipe surfaces deteriorate and release trace metals or minerals.
Pay attention if you notice:
- Discolored water when you first turn a faucet on
- Water that clears up, then comes back brown later
- Staining in sinks or tubs that wasn’t there before
- Odd taste that shows up across multiple faucets
- Sediment or grit collecting in aerators
3) Pressure & Flow That Never Fully Bounce Back
Low pressure can come from a few places, so it’s easy to chase the wrong fix. A clogged showerhead is simple. But if multiple fixtures feel weaker over time, the plumbing itself may be the issue.
As pipes age, corrosion and buildup can narrow the inside of the line, which reduces how much water can move through it and makes pressure feel weaker at fixtures.
Signs it may be more than a fixture issue:
- The shower stream is weaker than it used to be
- Faucets take longer to fill pots or bathtubs
- Pressure drops when the washer or dishwasher runs
- Pressure varies from room to room without a clear reason
- You’ve replaced fixtures but the problem stays
4) Corrosion You Can Actually See
Sometimes the warning signs are visible. Look under sinks, near shutoff valves, around water heater connections, or anywhere a pipe is exposed. Flaking, greenish or rusty staining, and crusty buildup can all be clues.
This often ties back to pipe corrosion, which tends to spread rather than stay isolated.
What to look for:
- Rusty staining at joints or around fittings
- White crusty buildup near valves or connectors
- Green or blue staining on copper sections
- Dampness around exposed pipe runs
- Frequent valve or fitting failures during repairs
Repair vs Repipe: A Simple Way to Decide
A single repair is normal. The decision shifts when problems keep spreading, and the risk of damage starts outweighing the cost of another fix.
A repipe is worth discussing if you’re dealing with:
- Two or more leaks in 12–24 months
- Leaks showing up in different areas of the home
- Repairs that hold briefly, then fail again
- Ongoing pressure drops or inconsistent flow
- Visible corrosion, staining, or water quality changes
If several of these fit, comparing continued repairs to a plumbing repipe with a professional can help you decide on a plan that protects the home and your budget.
What a Repipe Project Really Looks Like
The goal is a reliable system with as little disruption as the home’s layout allows.
Step 1: Walkthrough, Layout & Planning
A licensed plumber will check pipe material, fixture locations, and the simplest routes to reach key areas. You’ll also go over water shutoff timing. If a leak is suspected under a slab or inside walls, schedule leak detection in San Jose to confirm where the problem is before work begins.
Step 2: Replacing Lines With Minimal Disruption
Most repipes focus on clean routing and limited wall openings. In slab homes, rerouting through walls or the attic can avoid cutting concrete. This is when the scope gets clear, including which fixtures are included and what it takes to repipe a house with fewer interruptions.
Step 3: Testing, Cleanup & Final Checks
The new lines should be pressure tested, then checked at each fixture for steady flow and temperature. Expect a final walkthrough that covers shutoff locations and warranty details, plus cleanup that keeps access areas neat for restoration.
Permits & Inspections for Repiping in San Jose
Most whole-home repipes require a plumbing permit, and that’s a good thing. Permits make sure the work meets current code, the right materials are used, and the new lines are installed safely.
Here’s how it usually works in San Jose:
- The permit is pulled through the City of San Jose, often by the contractor
- The scope lists what’s being replaced, where the new lines will run, and which fixtures are included
- An inspection is scheduled so the City can verify the installation before the job is closed out
- You’ll receive the final sign-off, which is helpful for records, resale, and warranty documentation
If a contractor suggests skipping permits for a full repipe, that’s a red flag. A permitted job keeps the project accountable and protects you long after the walls are patched.
Stop Chasing Repairs & Protect Your Home With Repiping Services
When pipe problems start spreading, the goal is to stop chasing repairs and start protecting your home. Paying attention to leaks, water changes, and pressure issues makes it easier to plan a home repipe on your terms, instead of reacting to a surprise rupture.
Rooter Solutions San Jose can inspect your system and help you choose a practical path to steady water flow and fewer repair bills.
Request a Free Estimate for Your Pipe Replacement in San Jose, CA
If leaks or pressure problems keep showing up, it’s worth getting the piping assessed before the next repair turns into a bigger project. Call or message Rooter Solutions San Jose to request a free estimate for your repiping service. Interest-free financing options are available for qualified customers.
 408-728-4978